When a Nivalis Nights quest appears stuck, first confirm the active objective in the digital journal, then compare it with the location shown by the HUD and city map. Many apparent blockers come from being in the wrong district, waiting for a next-day trigger, missing a nearby conversation, or being caught outside during curfew. If the objective and location are correct but nothing advances, make a manual save, restart the game, and verify the game files through Steam before reporting the quest as a bug.
Do not immediately overwrite every earlier save or assume the quest is permanently broken. The launch build can have quest-dialogue problems, but the game also uses time, travel, and multi-character conversations as progression conditions. Work through the checks below in order so you preserve as much progress as possible.
Use This Recovery Order
- Open the digital journal and read the exact current objective rather than relying only on the quest title.
- Confirm that the objective is selected and look for its HUD direction or marker.
- Open the city map and check whether the objective is in another district.
- If the destination has already been discovered, travel there by the available taxi, train, boat, or map fast-travel option.
- Search the marked area for the named character, entrance, terminal, or interactable object.
- If the last conversation suggested that someone would contact you later, advance to the next day and check the journal again.
- If curfew has started, stop treating the curfew restriction as a quest failure and find a shelter or usable bed.
- Make a manual save from the Pause Menu, close the game, and reload that save.
- If the objective still cannot advance, verify the game files in Steam.
- Preserve an earlier save if one is available, then prepare a focused bug report with the quest stage and reproduction steps.
This order separates navigation and timing problems from an actual broken quest state. It also avoids rolling back progress before the simpler checks have been exhausted.
Reconstruct the Current Objective
The journal entry is the most useful starting point because a quest name can remain the same while its required action changes. Write down four details from the current objective:
- The named person, venue, or object.
- The district or destination, if one is shown.
- The action verb, such as talk, go, buy, return, or wait.
- The last action that definitely completed and changed the objective.
If the journal still tells you to speak to someone, leaving the district or completing an unrelated activity is unlikely to replace that conversation. If it tells you to go to a location, searching the current district will not help unless that is where the map places the objective. If it tells you to return to a character, revisit that character even when you spoke to them earlier in the same quest chain.
Avoid using the number of visible quest markers as proof that the quest is broken. The HUD can become crowded when several activities are available. Match the wording in the journal with the destination marker instead of following whichever icon is closest.
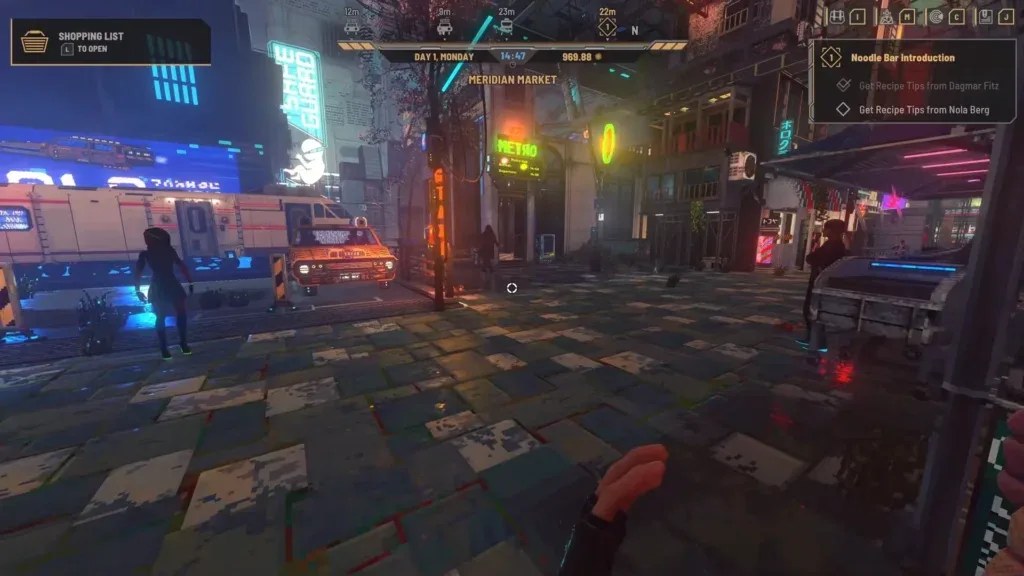
Check the HUD, Map, and District
Nivalis Nights uses its navigation display to point toward active quests and points of interest. The city map can also show which location you need to visit to continue a quest. These systems solve different parts of the route: the map identifies the relevant area, while the HUD helps with the final approach inside that area.
Use the following location check:
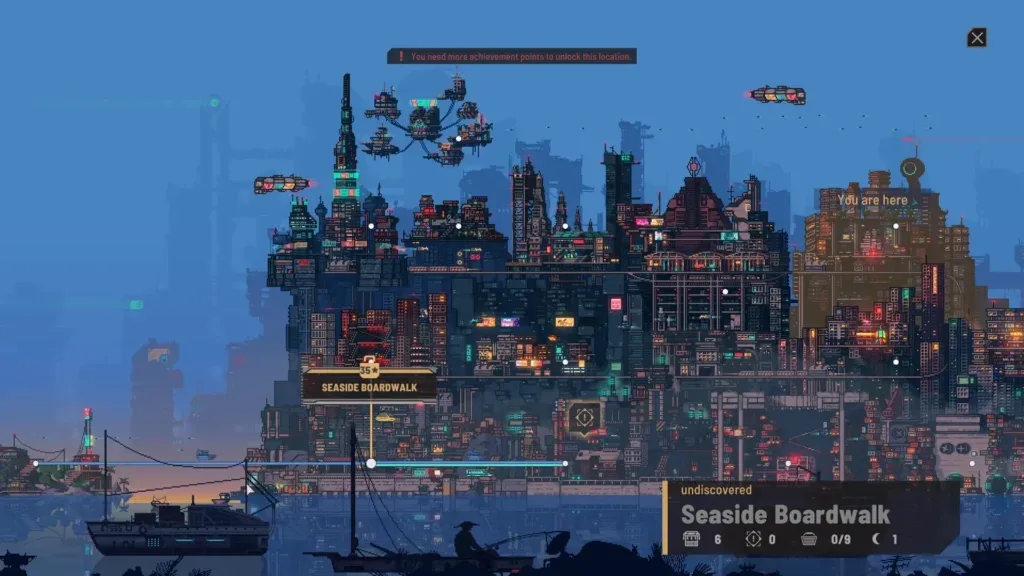
- Compare the journal destination with the district currently shown on the map.
- If they differ, identify a taxi, train, or boat route that reaches the required district.
- Use fast travel only when that destination has already been discovered through the appropriate transport connection.
- After arriving, follow the local HUD marker rather than repeatedly reopening the city map.
- Inspect doors, people, and terminals close to the marker. The target may be an entrance or interaction point rather than an object visible from a distance.
A marker that appears on a different district node is a travel instruction, not evidence that the current objective failed to spawn. Likewise, a destination that is not yet available may indicate that another route or earlier quest step must be completed. Do not infer an undisclosed unlock condition if the journal does not provide one; return to the last confirmed character or action instead.
Test Time-Based Progression Without Skipping Steps
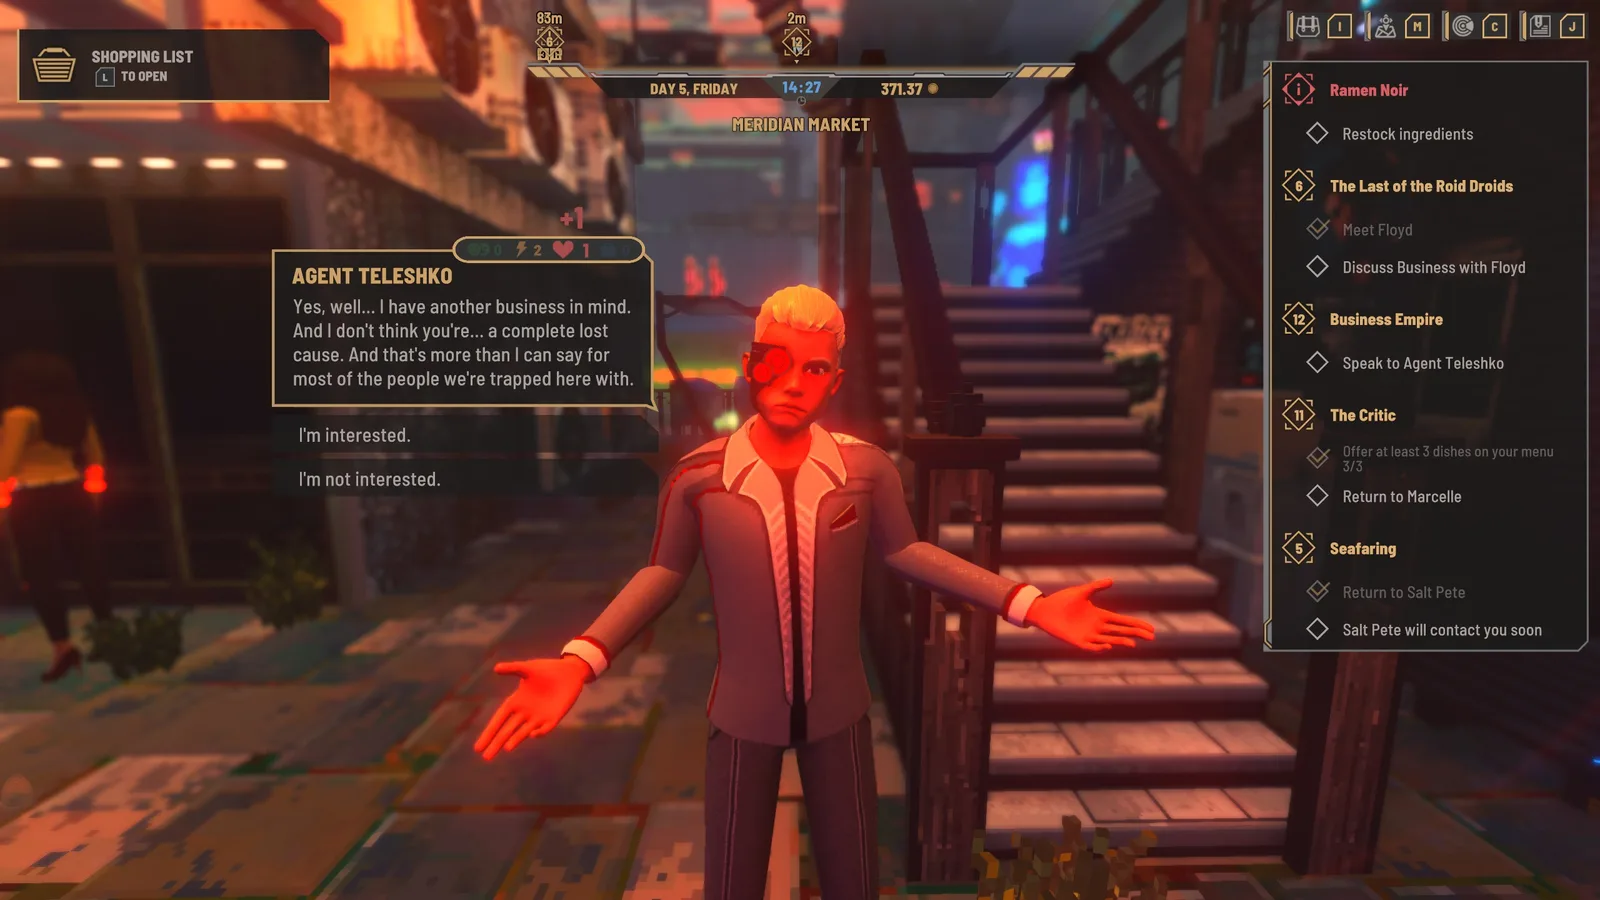
Some quest sequences do not continue immediately after the first conversation. A next-day message or follow-up can be a legitimate progression condition. The Business Empire sequence provides a clear example: after the first meeting with Agent Teleshko near Ramen Noir, its follow-up occurs on the next day, when the player is directed to speak with him again in Meridian Market.
Use time advancement only when the completed dialogue or objective supports it. Sleeping repeatedly is not a universal repair for every stalled quest. Before advancing the day:
- Confirm that the current conversation has fully ended.
- Move away from the speaker and check whether the journal changed.
- Check whether a new message or objective appeared.
- Make a manual save so the current state is preserved.
- Advance to the next day once, then inspect the journal again.
If the quest still displays an unfinished conversation objective, waiting may not be the missing condition. Return to the named character and look for another dialogue interaction instead.
Verify Multi-Character Quest Stages
A quest can look stalled when its next step returns to an earlier character. Do not assume a conversation chain ends just because the story sends you to a second NPC.
For example, the supported Business Empire path moves through these checkpoints:
- Speak to Agent Teleshko after the initial encounter near Ramen Noir.
- Advance to the next day when the first meeting has completed.
- Find Teleshko in Meridian Market and receive the next part of the assignment.
- Travel to LowTown and follow the marker to Brooke Hazard at the small food stall.
- Complete the conversation with Brooke.
- Return to Agent Teleshko in Meridian Market and discuss what happened.
- Return to Brooke after the matter with Teleshko is resolved.
The important troubleshooting lesson is the return trip. If the journal mentions Teleshko after the Brooke conversation, staying near Brooke will not progress the chain. If it sends you back to Brooke after the second Teleshko meeting, continuing to interact with Teleshko is no longer the required action.
Dialogue choices during this sequence can affect the interaction and rewards, but the apparent ability to deceive Teleshko does not create a separate route that bypasses the remaining conversations. Follow the updated journal objective after each exchange.
Separate Curfew From a Broken Quest
Curfew can make normal travel or exploration feel like a quest lock. If curfew is active and you cannot continue safely, find a shelter and use its bed rather than waiting outside or immediately restarting the entire quest.
A shelter is entered through a marked door and provides a usable bed. Its entrance can be easy to overlook, particularly when the HUD contains several objectives. Use the HUD ping and look for a home-style icon during curfew. The reported keyboard control for this ping in the launch build is C, but check your own control settings if that input does nothing.
Once the night has passed, reopen the journal and resume the original objective. Do not confuse a disappearing curfew prompt with the deletion of the quest you were already following. To resume the quest, reach a valid bed, advance out of the restricted period, and recheck the original quest state.
Reload the Quest State Safely
Nivalis Nights autosaves at the end of each day and also allows manual saving from the Pause Menu during gameplay. Use those systems carefully when testing a stuck objective.
- Record the quest name and exact objective text.
- Make a new manual save if the available save interface permits you to preserve the current state without replacing the only useful earlier state.
- Exit the game normally.
- Restart it and load the saved state.
- Reopen the journal before travelling elsewhere.
- Approach the required location or character again and test the interaction once.
A restart can refresh a failed interaction or dialogue state, but it cannot supply a prerequisite that was never completed. If the same objective remains after reloading, repeat the journal-to-map comparison rather than cycling through repeated restarts.
Steam Cloud can synchronize saves between PCs when an internet connection is available. That synchronization is not a guaranteed rollback system, so do not rely on it as a substitute for preserving an earlier usable save.
Verify the Steam Installation
If the marker, character, or interaction remains unavailable after a clean restart, verify the installed files:
- Open the Steam Library.
- Right-click Nivalis Nights.
- Select Properties.
- Open Installed Files.
- Select Verify integrity of game files.
- Allow Steam to finish, then launch the game and load the preserved save.
Also close unnecessary background applications and overlays before retesting. These steps are general technical recovery measures; they do not prove that a specific quest file was damaged. Test the same objective once after verification and note whether the marker, NPC, dialogue, or interaction changed.
Decide When to Roll Back
Use an earlier save only after the non-destructive checks fail. Rolling back is most useful when you can identify a clear state change between a working save and the stuck one, such as a conversation that failed to update the journal.
Before loading an older save, record:
- The current in-game day.
- The quest and objective text.
- The current district.
- The last NPC conversation or interaction.
- Whether the marker is missing, present but inactive, or pointing to an unreachable place.
- Whether reloading and file verification changed anything.
Then load the closest earlier save available and repeat only the required quest actions. Avoid adding unrelated travel, conversations, or business management between the known working point and the suspected failure. A short reproduction path makes it easier to determine whether the problem repeats consistently.
If no earlier save exists, do not delete the current one. Keep it for a later game fix or support investigation and report the blocker with enough detail to identify the affected stage.
Report a Reproducible Quest Bug
A useful report should identify the exact failure instead of saying only that the quest is stuck. Include:
- The quest name and full current objective.
- The NPC, venue, or district involved.
- The steps completed immediately before the failure.
- What the journal, HUD, and map currently show.
- What should become interactable or update next.
- Whether the problem remains after restarting and verifying files.
- Your PC specifications.
- A screenshot or short video showing the journal and failed interaction, when possible.
Submit the report through the 505 Games support channel. Keep the affected save rather than continuing to overwrite it with repeated experiments. The October 1, 2026 launch-build snapshot did not include a public patch version number, and a repair patch was described as being in development, so behavior may change after an update. After installing any update, load the preserved save and test the exact blocked step before repeating the entire quest chain.